Project ZenzaNOT (1/4): Making multi-element art-bokeh lenses for Bronica from surplus $5 glass
2026-11-01
This post covers the art-bokeh multi-element lenses I designed and built for the Bronica S2. Part 2 covers the 3d printed lens housing, the new SCAD language I built to engineer it (SCADwright), and some bonus stuff I built along the way; Part 3 covers the design process; Part 4 covers what I've learned about producing swirl in optical designs.
Project goals
I wanted to build a swirly lens for the Bronica S2 system, using only SurplusShed $5-7 elements, and with only the focal length and caliper-based measurements.
(This is not the correct way, or even really a good way, to design a lens. However, ray tracing requires element surface radii, which I can't measure with a calipers. In retrospect, the better approach would have been to build a radius measuring tool (and that might be a future project), but here we are.)
I wanted the lens to have about a 100mm focal length, and achieve a fast aperture around f2.8.
This is my second attempt; you can see my original go here, which was less than fully successful.
This time, I wanted to significantly improve both the optics (correct focusing behavior, swirls, center sharp, not limited to 2 group optical plans), and the housing design (native mount, easily changeable aperture, more precise spacing, dimensions driven by optical design).
Color considerations, I decided early on, were beyond the scope of this project: designing for swirl and center sharpness was hard enough. I went to no particular effort to control or correct for chromatic aberration. I was aware that using an achromat element would help with this, but that choice was primarily motivated by other factors.
Why Bronica S2?
For starters, I have one and I like it.
Relative to other medium format systems, Bronica lenses are quite simple. The helicoid and shutter are both part of the camera, so mechanically the lens only needs to change aperture.
The one challenge of the Bronica S2 system is the longer flange distance - this requires either recessing the lens elements into the camera itself (the approach taken by many system lenses), and/or optically designing in favor of a longer back focal distance.
Compared to 35mm, everything is bigger on medium format, which is good for making things. If my 3d printing and design comes with some fixed amount of error, that error is going to be a smaller percentage of the total as the format grows. Cramped spaces also introduce their own challenges to design.
Finally, the slower pace of the medium format process is a better fit for me with these kinds of art lenses. I like to make sure I've fully explored the composition, and especially the way the background, angle, and lighting cause the bokeh to change.
The results of 8 months, 16 generations, and a search space of more than half a million designs
The first 12 generations of design
At the start, I was rapidly evolving the design requirements and the optical calculations in parallel with the physical housing in a sort of feedback loop. Many of these earlier designs were not buildable for various reasons; with others, I came to new insights for better designs before I started thinking about building.
For more on the process, AI, and source code, see Part 3. I did use AI to write a lot of the code that generated potential designs and tested them against my calculations. I used AI to build out a CAD framework I started pre-AI, and I used AI to build the housing leveraging that framework.
But the optical understanding behind that was largely mine, and the writing sure as fuck is. Everything AI was involved with required a LOT of iteration over months to get it right.
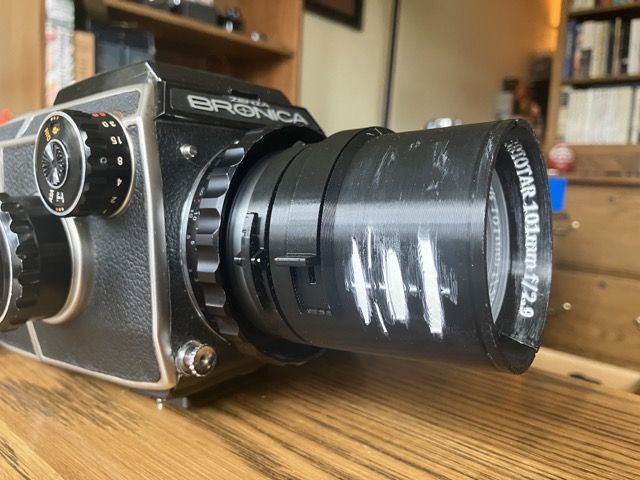
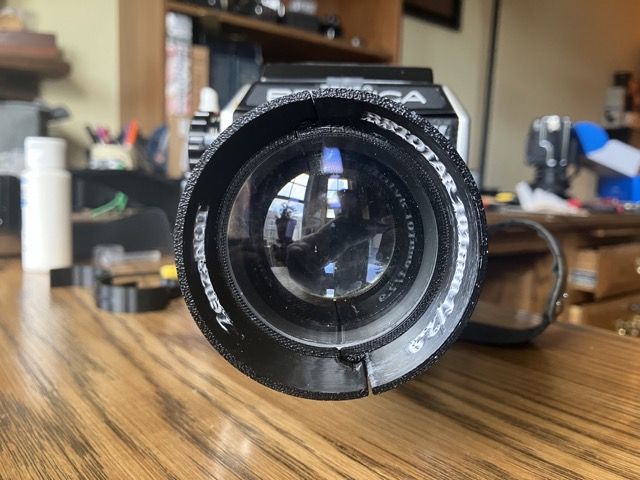
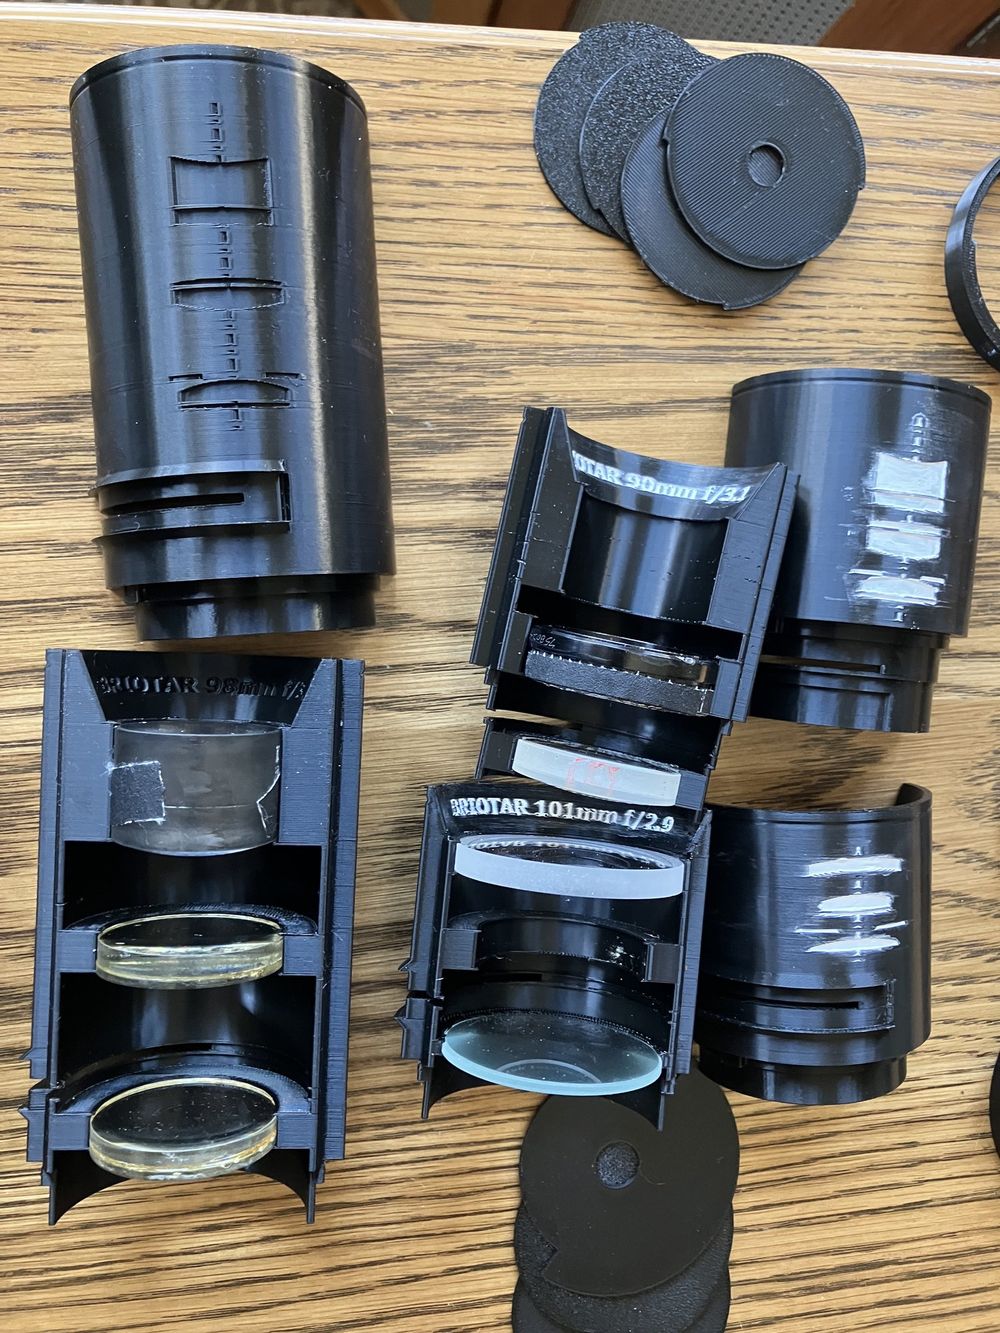
The ZenzaNOT Briotar 101mm f/2.9 (design version 13f)
This lens from the 13th generation is a 101mm f/2.9 retrofocal design, with four elements in three groups.
This design is technically a failure (relative to my stated goals), but the best kind of failure - one that unlocks more knowledge and left me something usable as a byproduct.
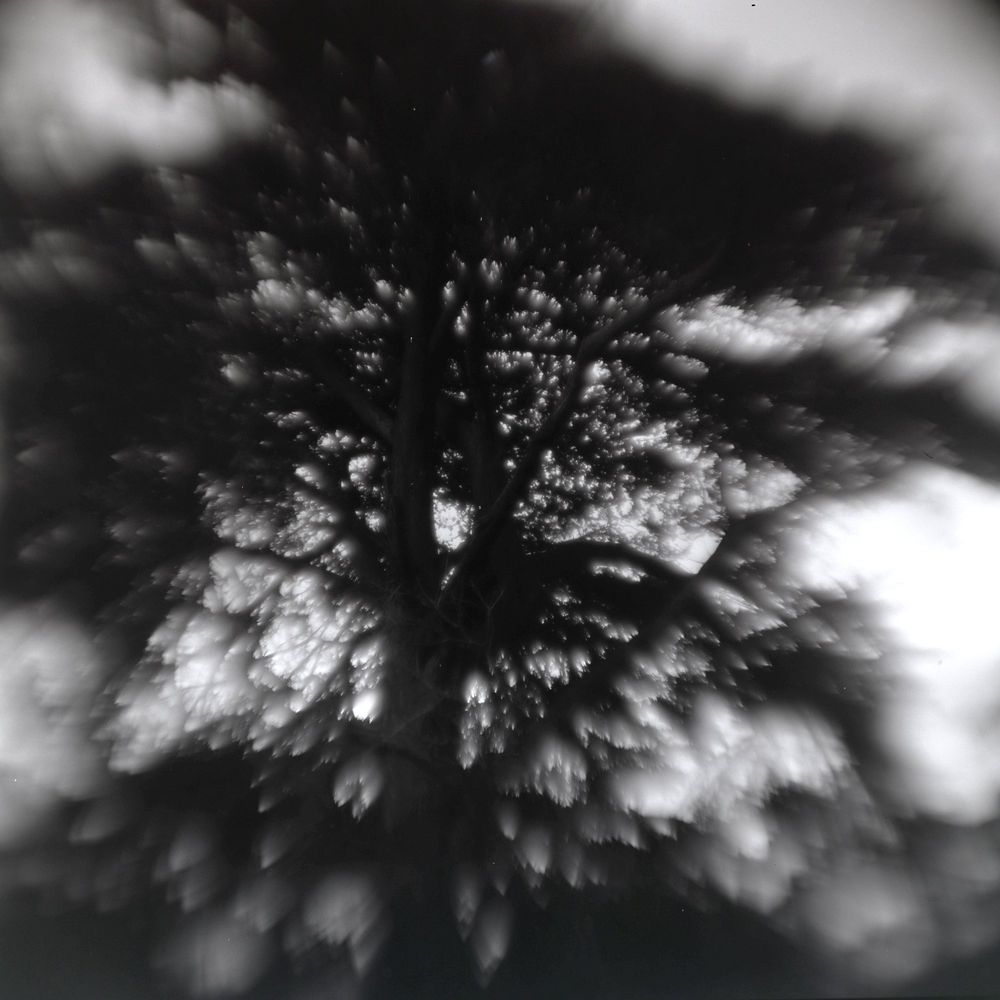
I'll talk more about swirl vs tie-dye in Part 4, but in summary, swirl is created by bokeh being deformed tangentially to a radius from the center of the image, and tie-dye is the reverse - when the bokeh are predominantly smeared radially, creating the sense that the center is rushing inwards or outwards.
This lens is a tie-dye design, not a swirl. The Helios-44 with its front element reversed is also a tie-dye lens (at least when close-focusing against a distant set of point lights).
Retrofocal means that the optical design pushes the back focal distance out, accommodating the larger flange distance of the S2. That said, one element does sit recessed, and the lens housing is capable of recessing elements more deeply, if I change up the design (more on this in Part 2).
The elements consist of a negative meniscus singlet in front, a cemented achromat in the middle, and a positive plano-convex singlet at the rear. The stop sits behind the middle element to promote swirl even when moderately stopped down.
This basic plan (N-A-P) was used in some projector optics in the 60s and 70s, I discovered after researching whether my design had any historical application. It was economical: far from a flat field in the corners, but good enough around f/4 for small (mostly 8mm and 16mm, from what I can tell) and cheap projector lenses.
Although this was meant to be a swirly lens, I wanted a sharp center. This requires a balance between the front negative and the rear positive such that their softness cancels in the middle of the frame. The corners get no such correction; they stay curved, drop out of focus, and fall into the distortion.
This design represents the best set of trade-offs I could find between speed, edge distortion, and center sharpness. Improving any one of those would degrade the other two past what I want.
For example, speed in this design is limited by the middle achromat. Replacing that with the next biggest diameter one in my element inventory would either cost me center sharpness, or distortion, neither of which I really want to sacrifice.
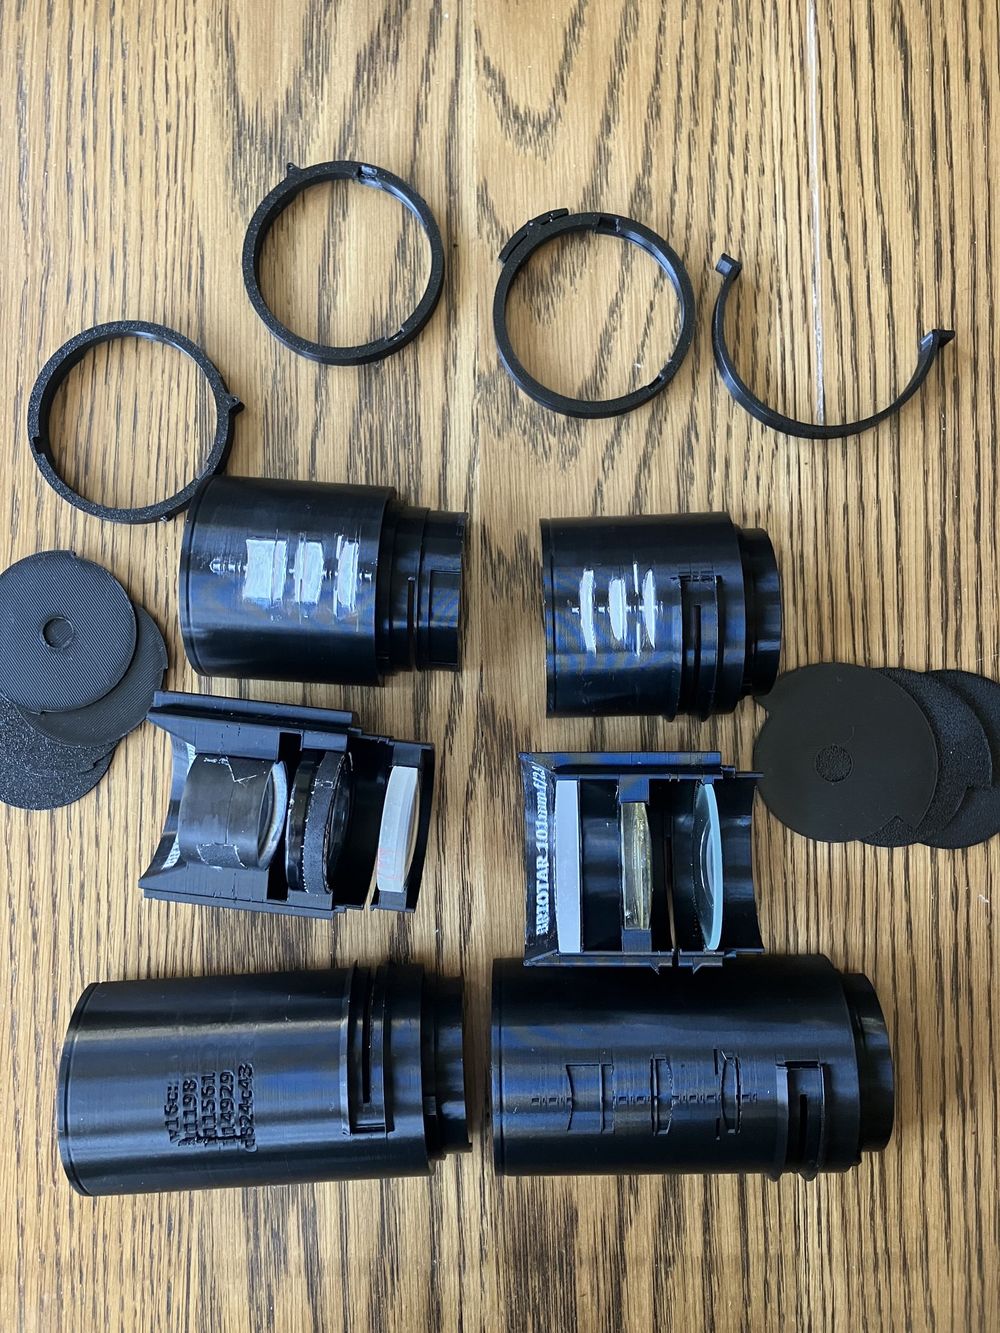
The housing snaps together from two halves after the elements are inserted, and the ring containing the grooves for the mount lugs snaps on to make sure the two halves don't separate. But more about this in its own post.
The aperture is a simple waterhouse stop, changeable via a slot in the housing, and the slot has a snap-fit cover to keep stray light out (replacing an electrical tape + gaff tape strip in the prototypes).
Evaluation
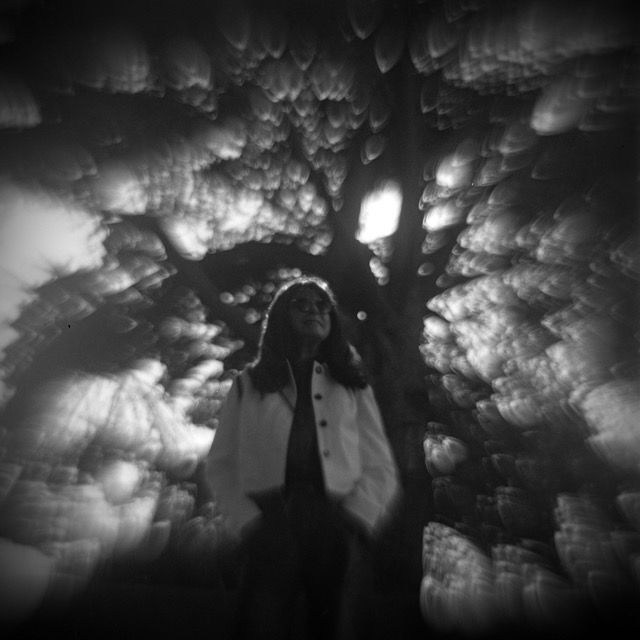
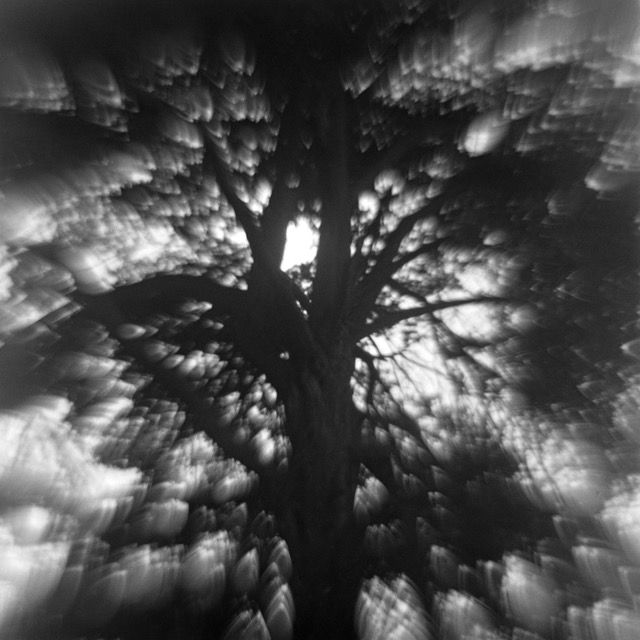
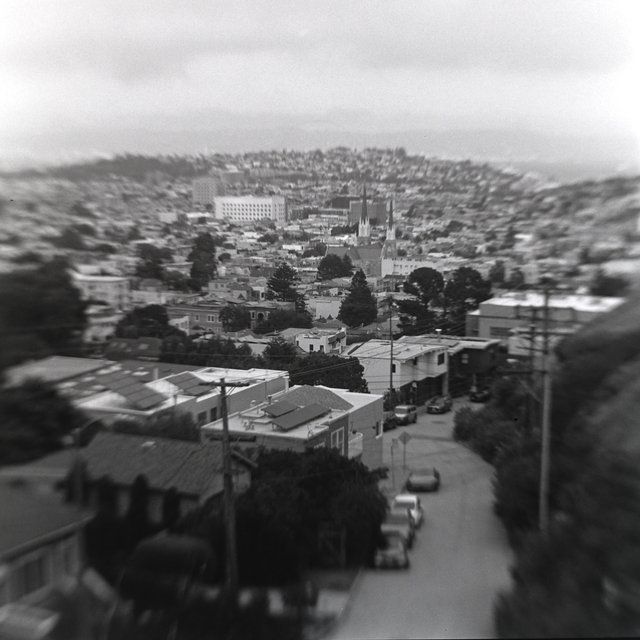
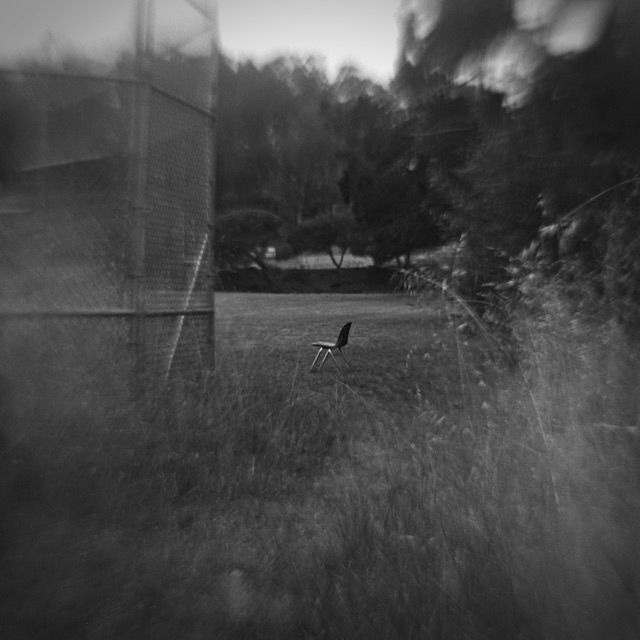
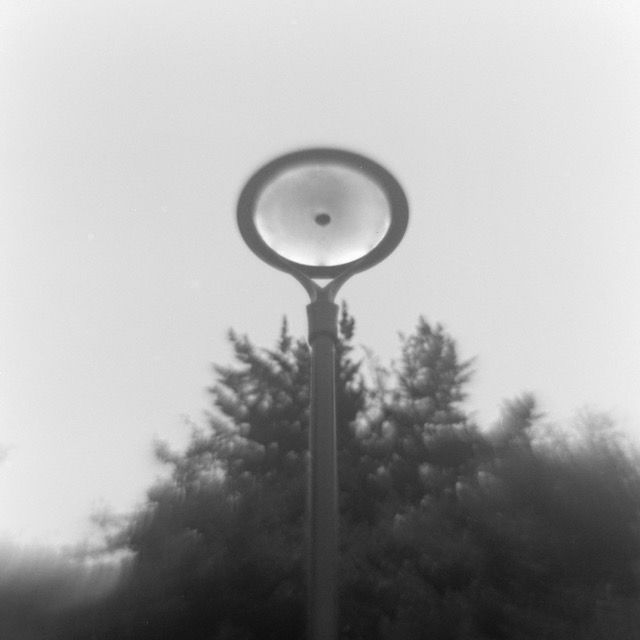
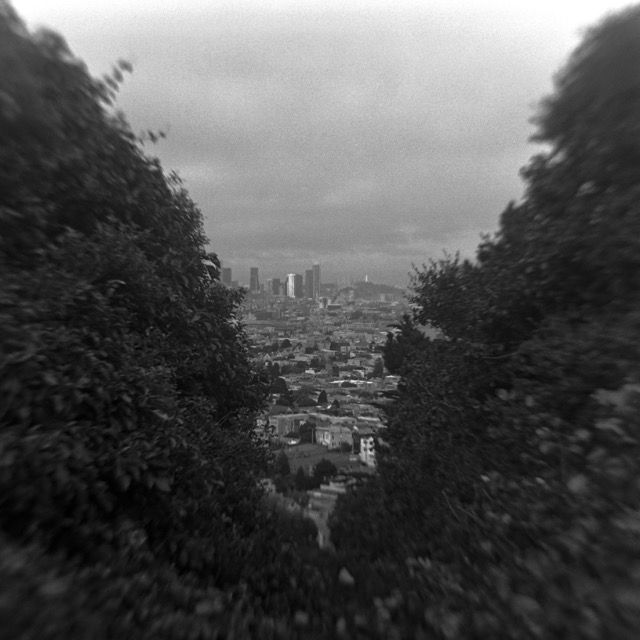
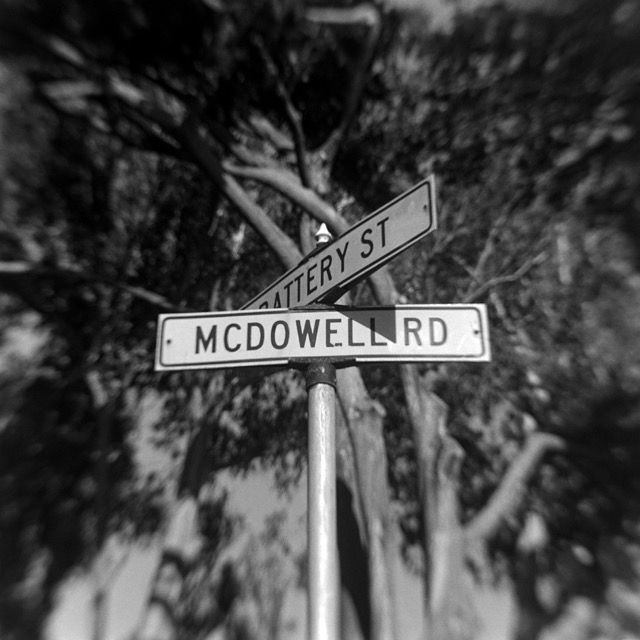
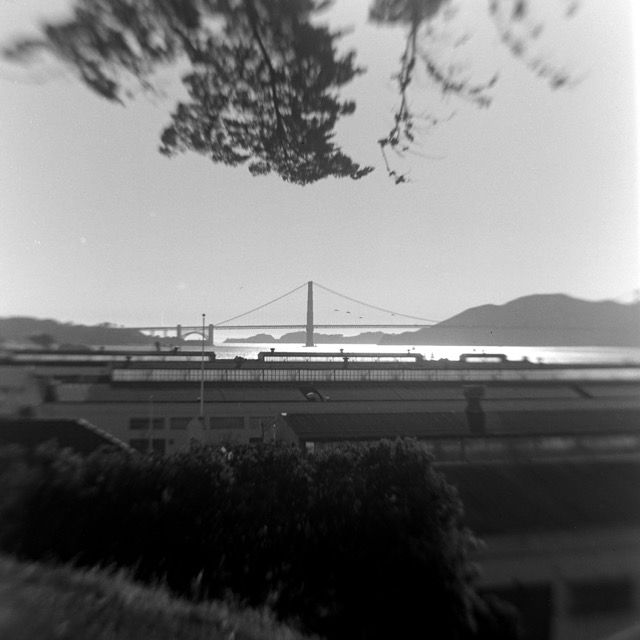
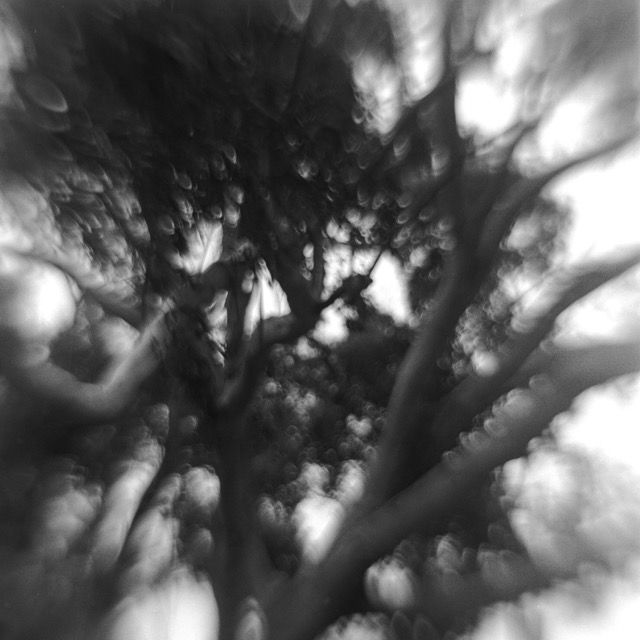
The lens works:
- I roughly hit my speed and focal length goals
- focus is acceptably sharp in the center wide open, and great from f4 on
- stopped down to f11, center sharpness overall is good, although the edges still show blur from field curvature
- the lens housing prevents elements from being decentered or off-angle
- changing aperture doesn't require full disassembly
- built around cheap and available lens elements
However, I did not understand the tradeoffs in design between swirl and tie-dye yet at this point. Instead of swirling, this lens tie-dyes aggressively outside its sharp center. This tie-dye is strong through f5.6, and diminishes towards f11.
I kind of like the tie-dye distortion as much as swirl. Getting the combination of that with a really sharp center area opens up some interesting artistic directions.
Despite me not really caring at all about color issues in the design process, this lens does reasonably well - I didn't see any of the horrendous chromatic aberration I was worried about.
While my sample images aren't great works of art, they do demonstrate the basic performance of the lens reasonably well.
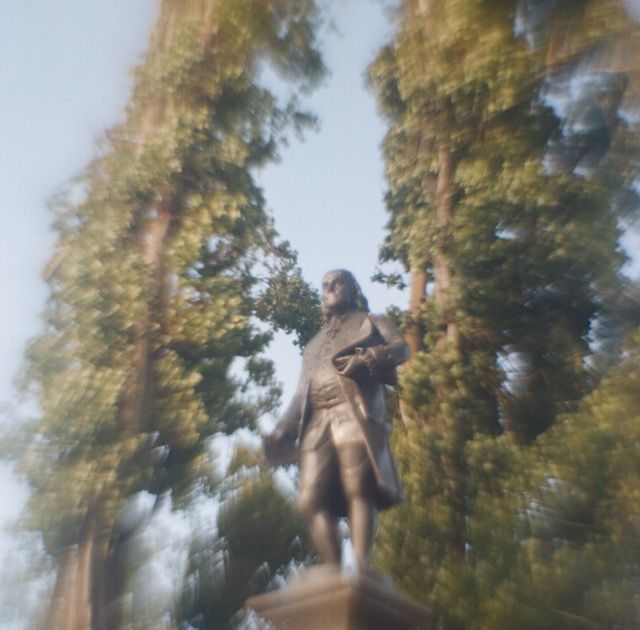
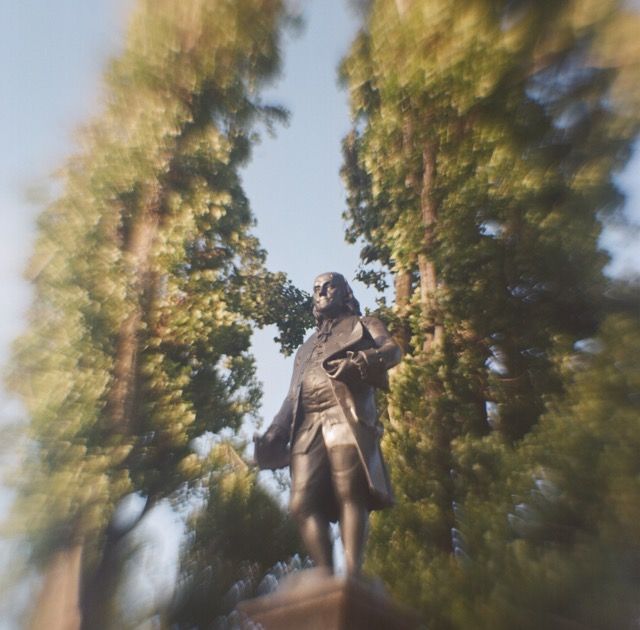
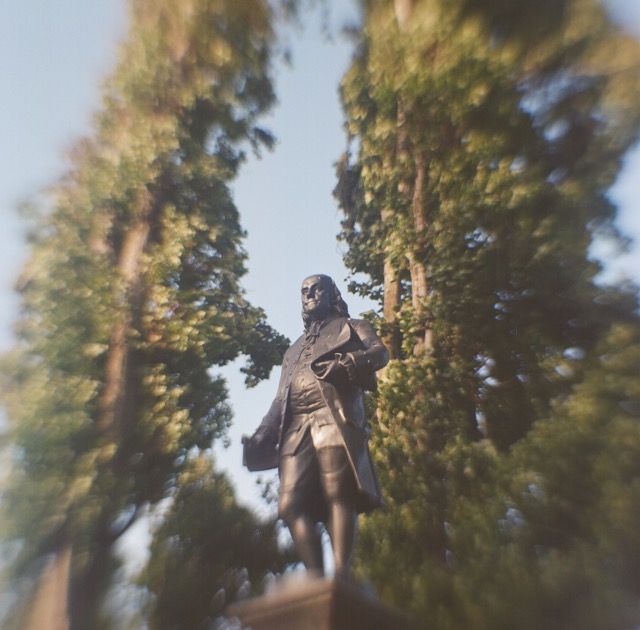
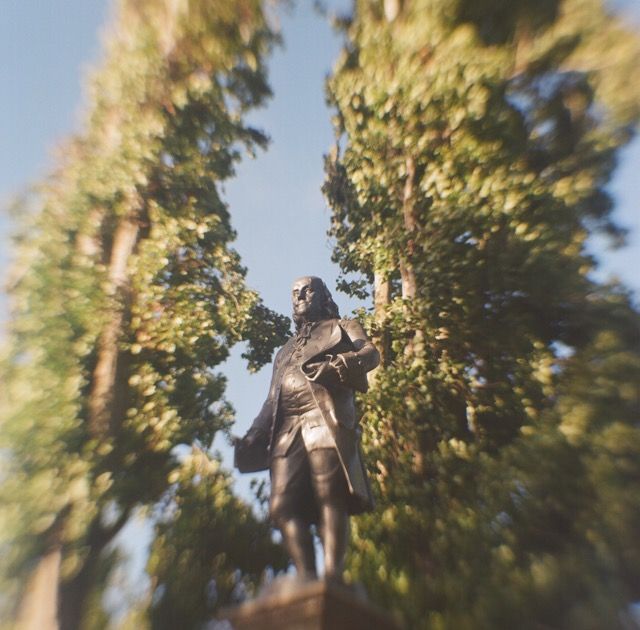
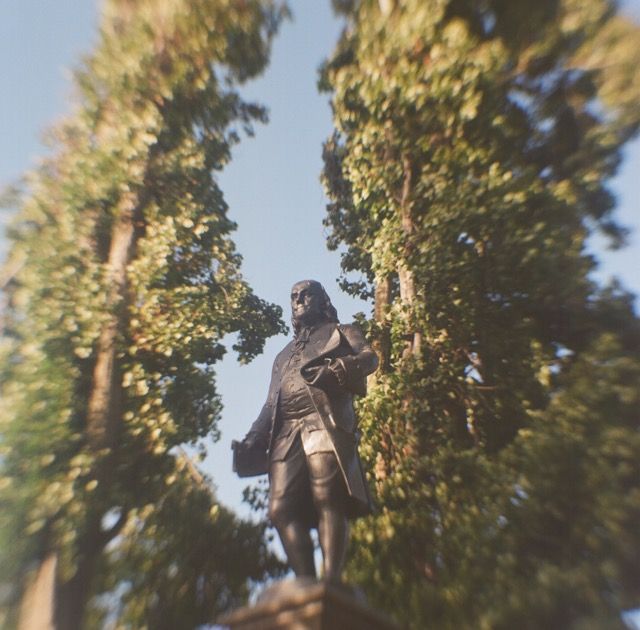
The ZenzaNOT Briotar 90mm f/3.1 (design version 15a)
The tie-dye sent me back to the math, and the explanation (more in Part 4) was coma. The single negative element in front of the 13f gave me the astigmatism I wanted, but a strong negative singlet is also where most of a simple lens's coma comes from, and coma can overpower astigmatism to smear the corners radially.
My fix was to get rid of the singlets, and use three cemented achromats instead: a negative one in front, two positive ones behind it, with the stop between the two positives. A cemented achromat has almost no spherical aberration, so it has almost no coma either, and the center comes out sharp by default rather than by the balancing act the 13f needed. It shares no glass with the 13f.
The plan is closer to a classic Petzval than to the 13f's retrofocal layout. It still clears the mirror, with the rear element recessed about 17mm into the camera's throat.
It came out at 90mm, shorter than I wanted, and f/3.1, limited by the small middle achromat. On paper the field curvature, sharp center size, and swirl depth are all about equal to the 13f. The only thing that changed on paper was the direction of the smear.
Evaluation
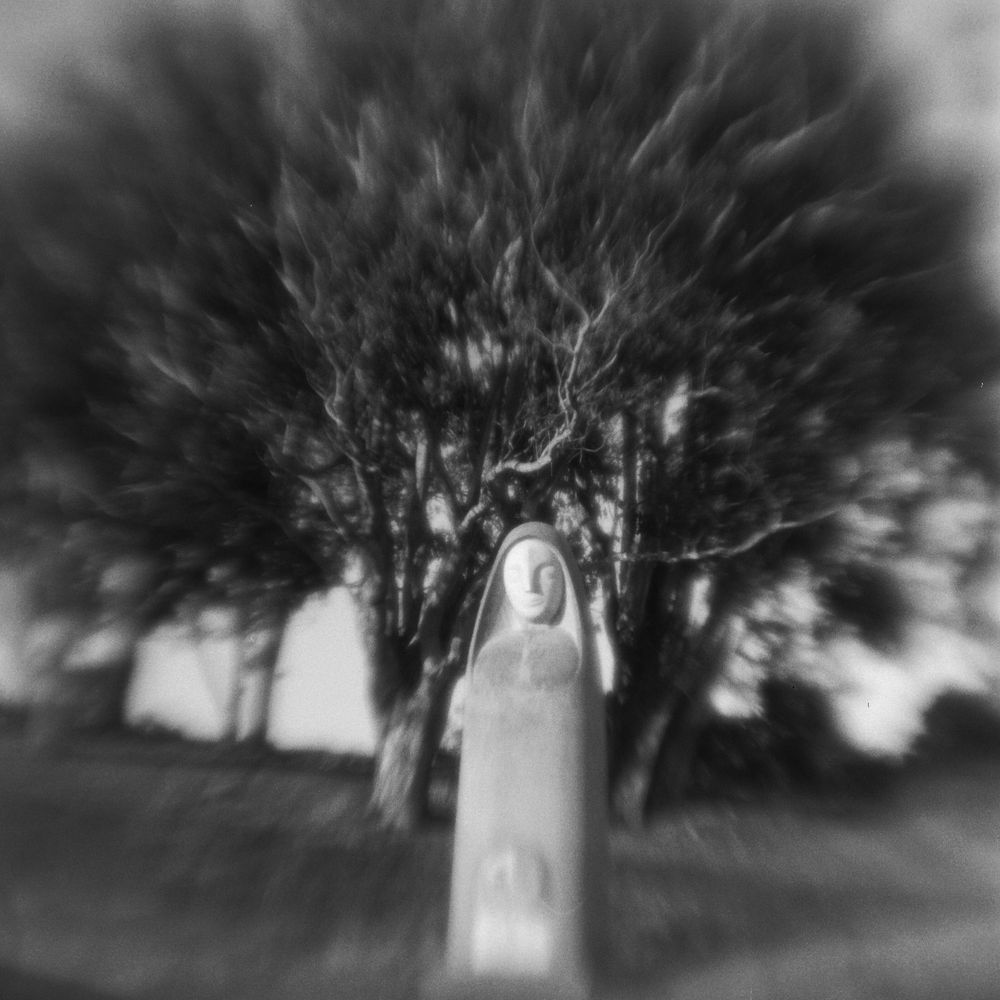
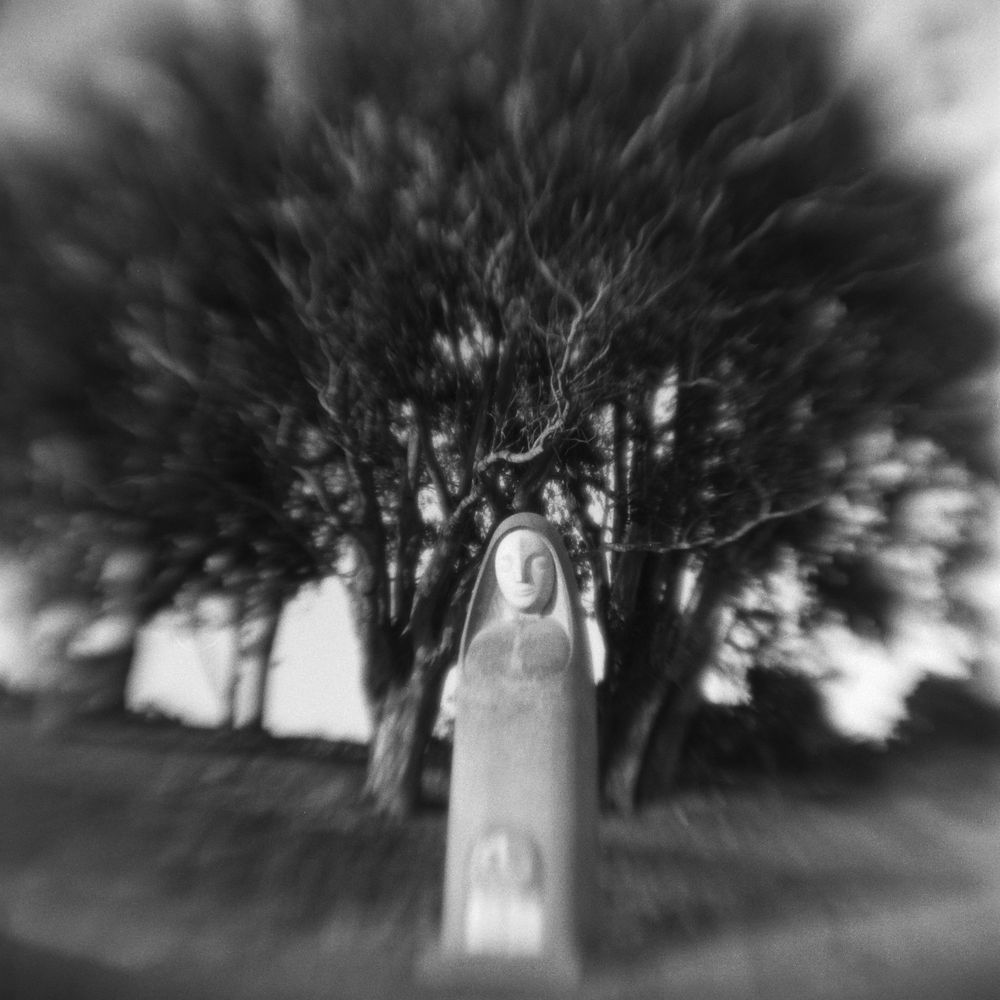
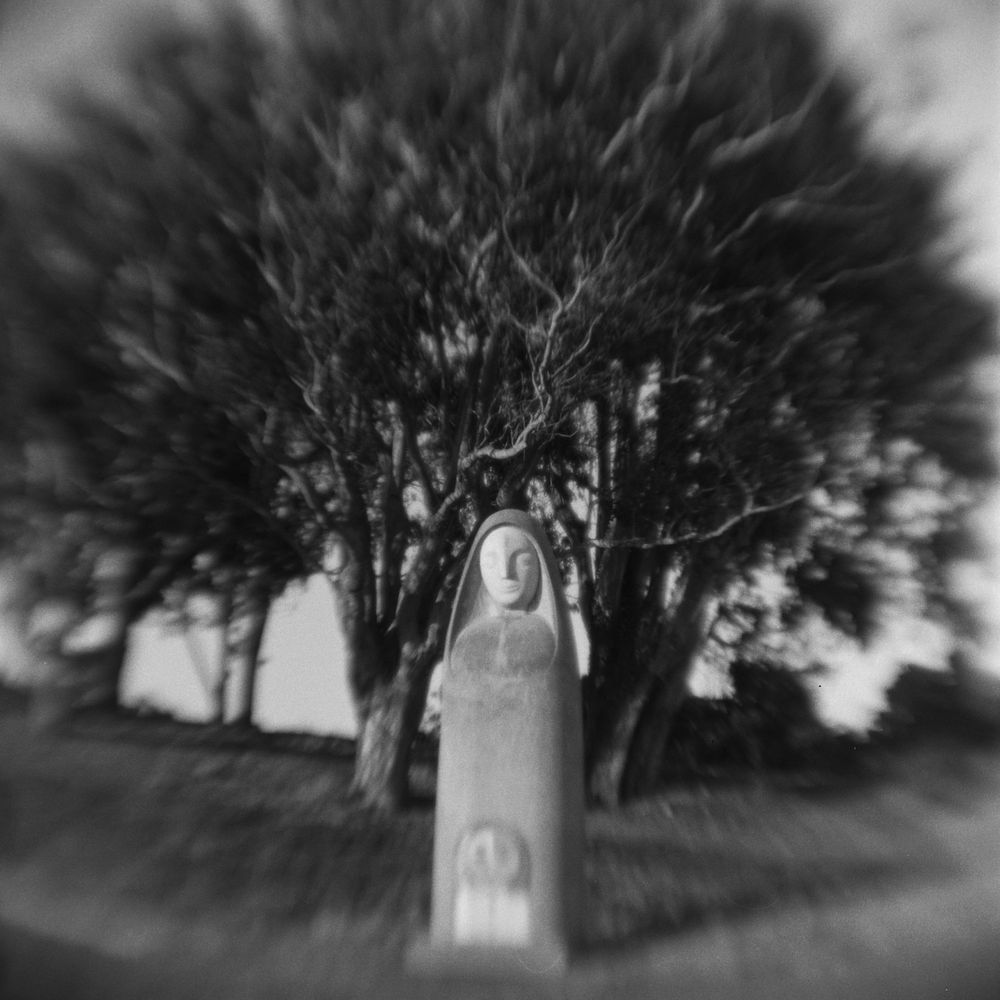
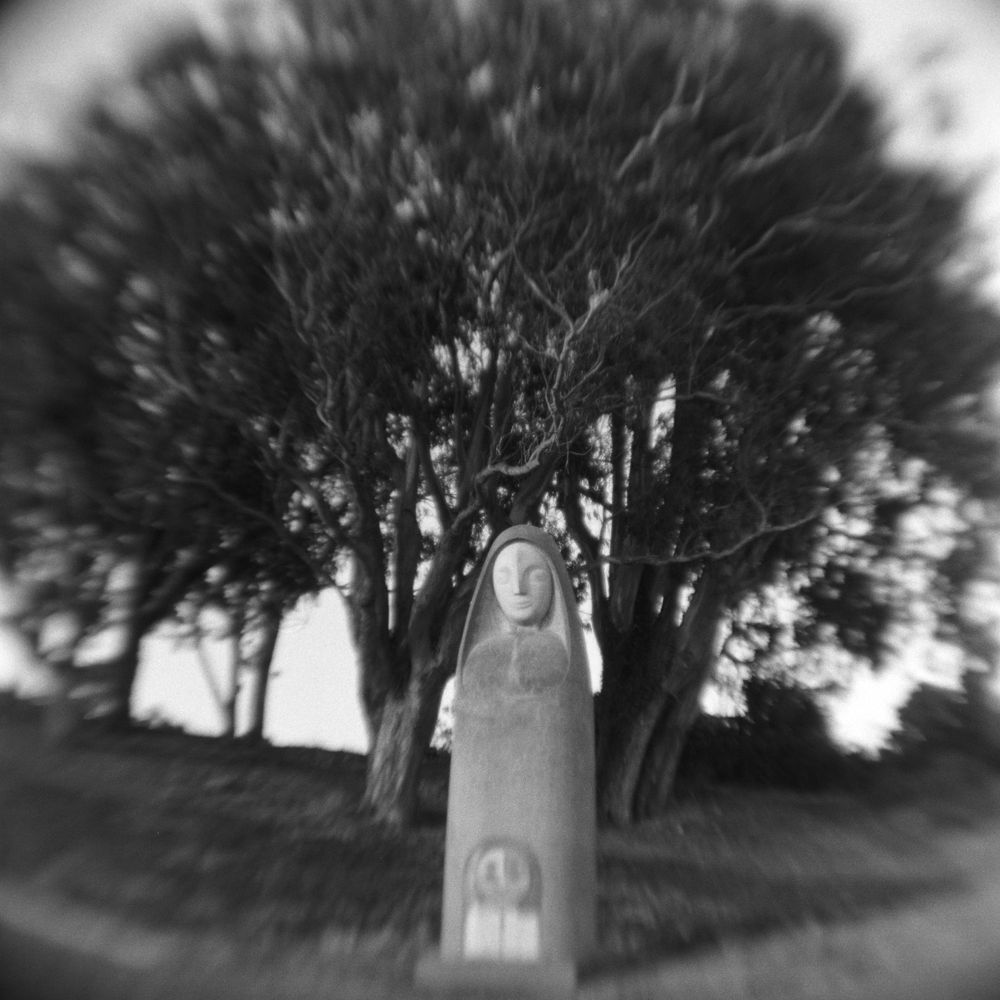
It swirls. Mostly.
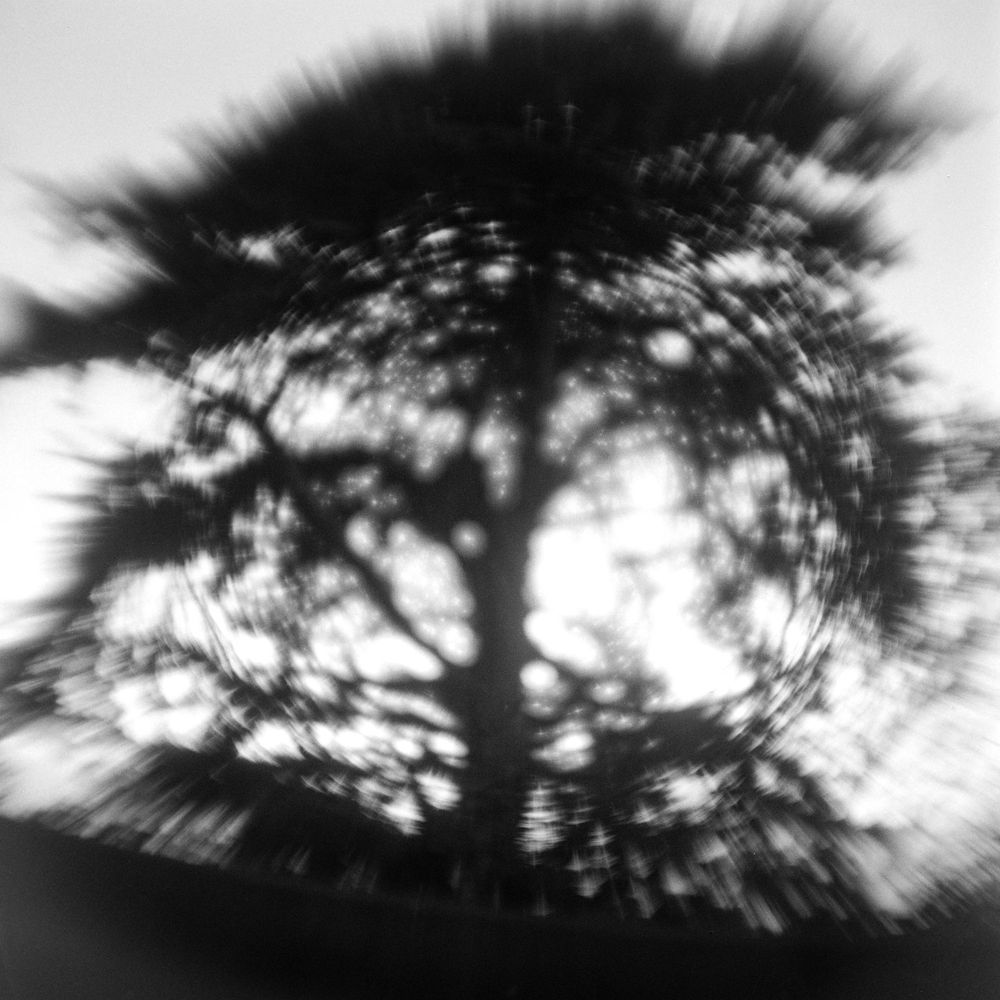
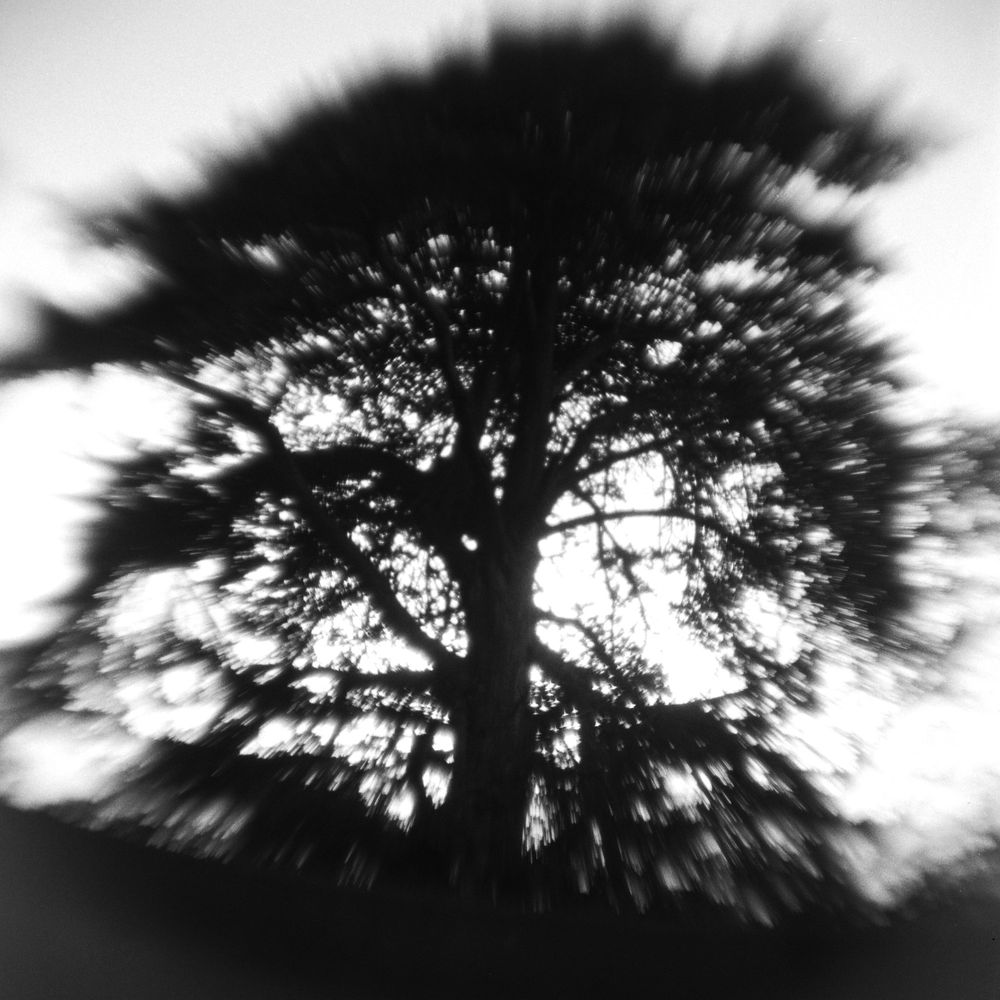
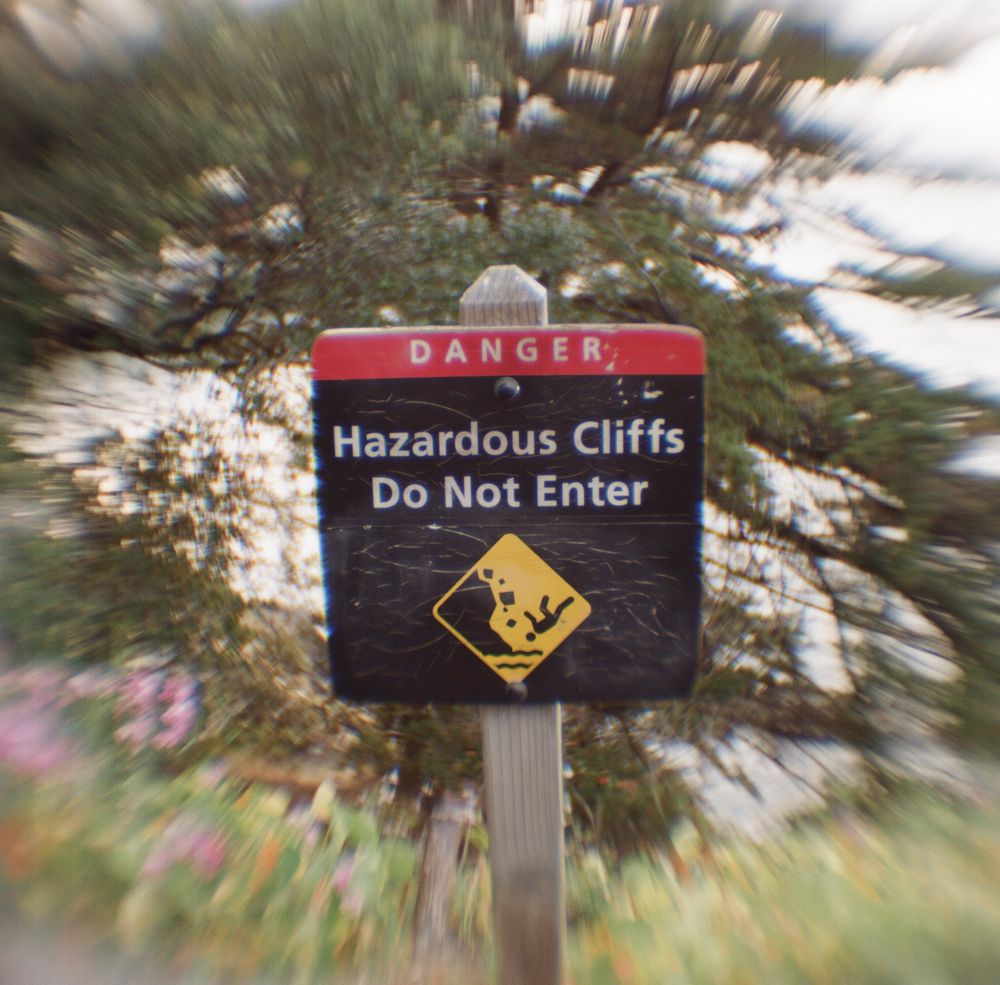
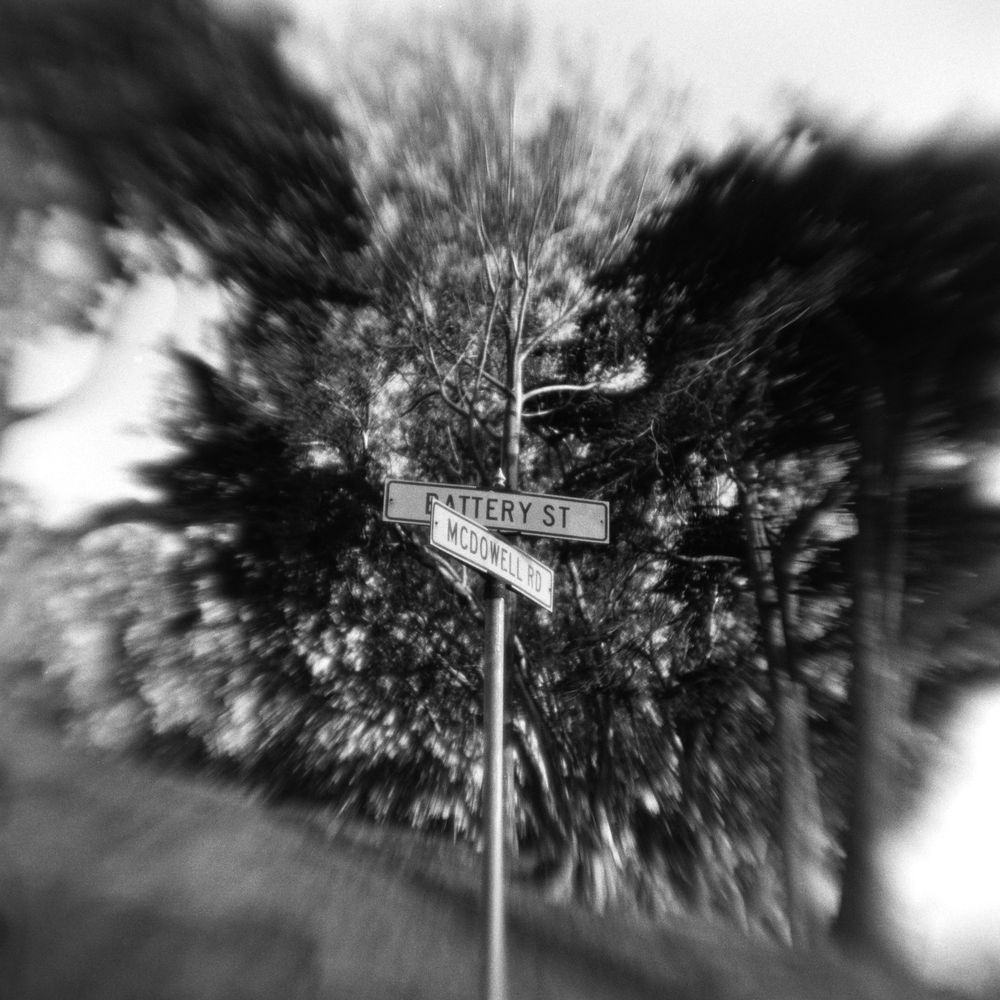
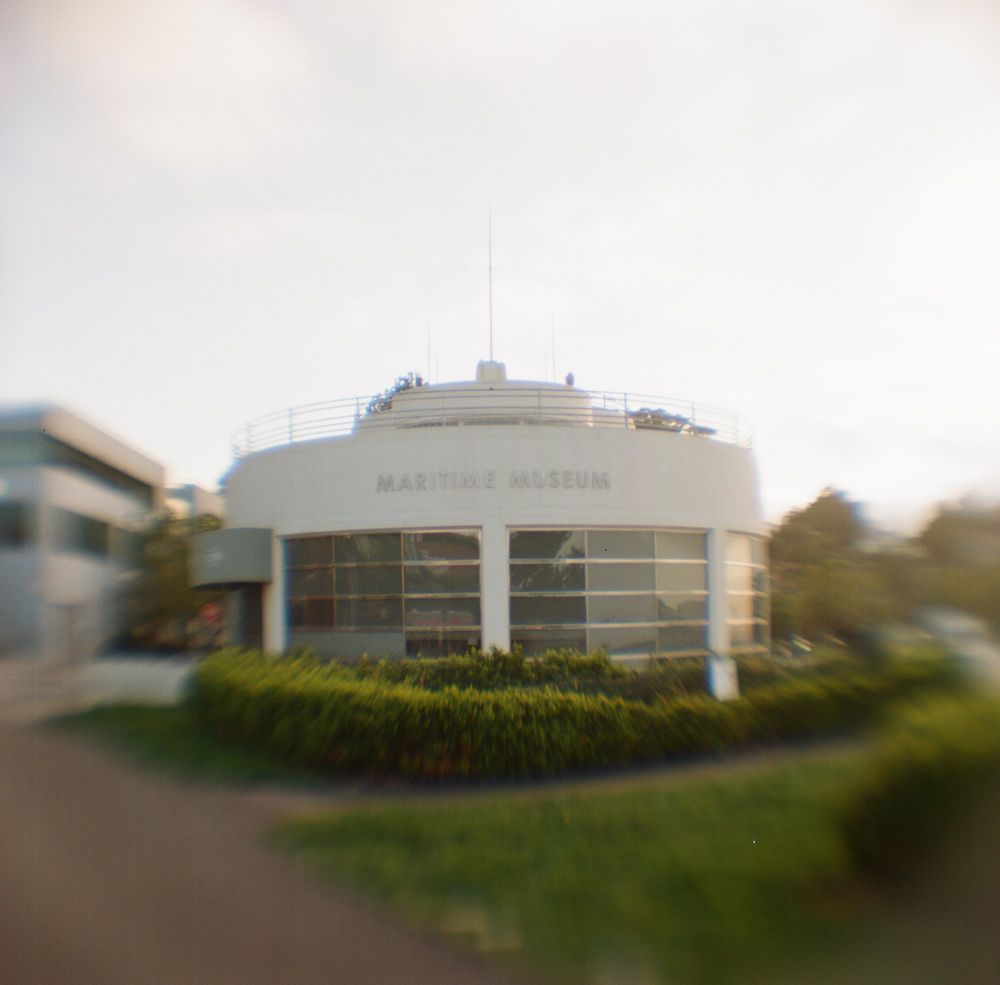
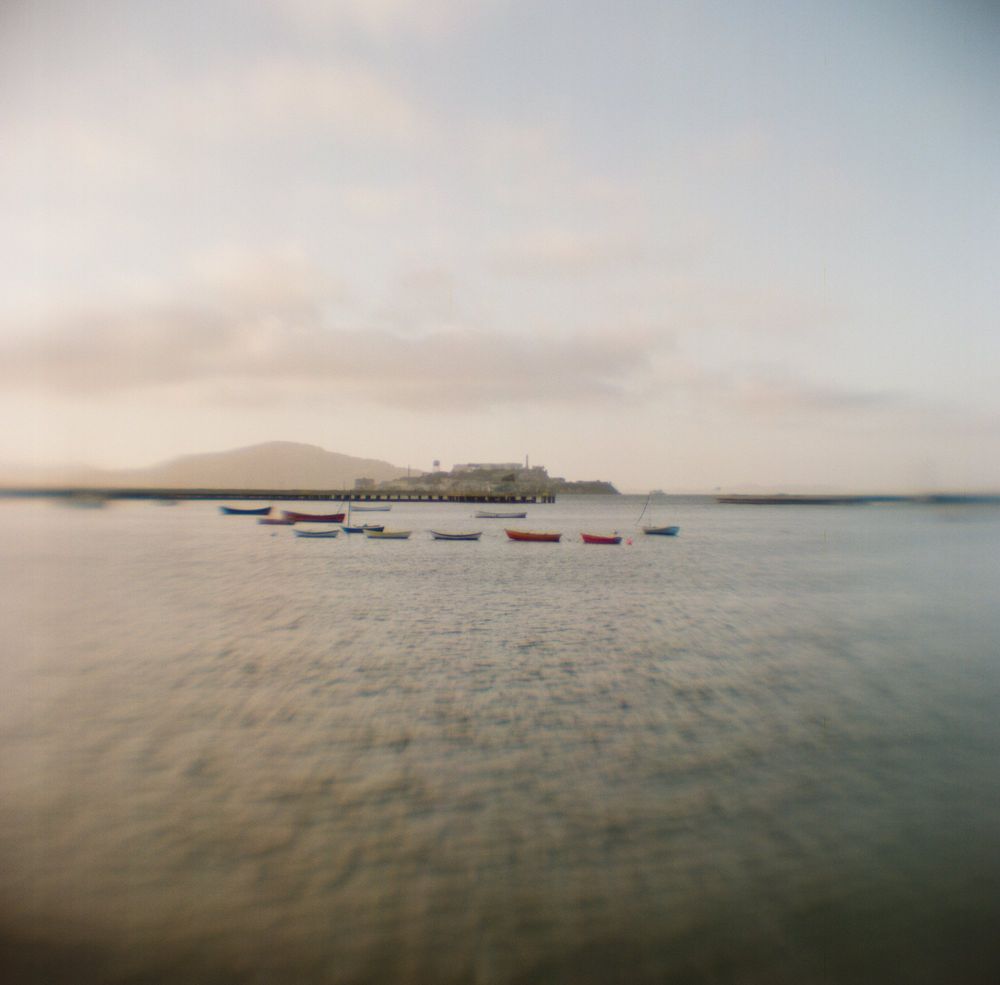
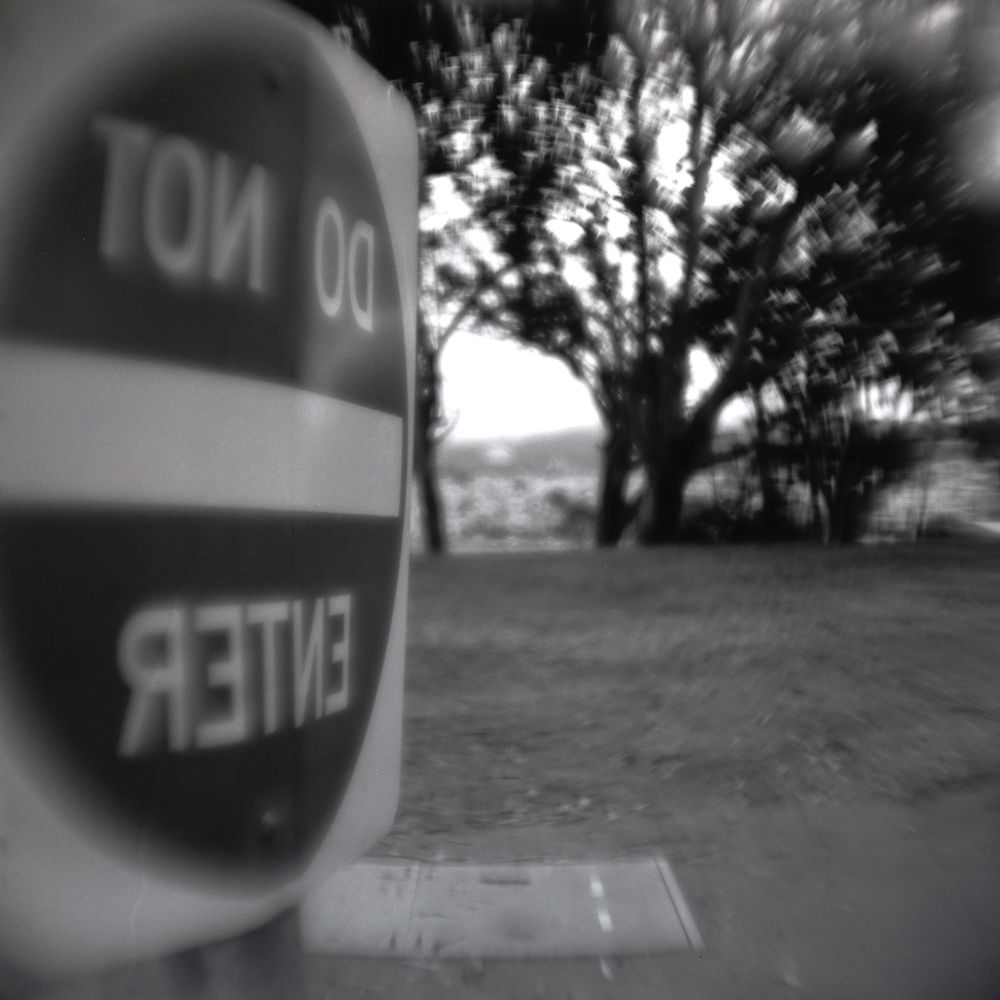
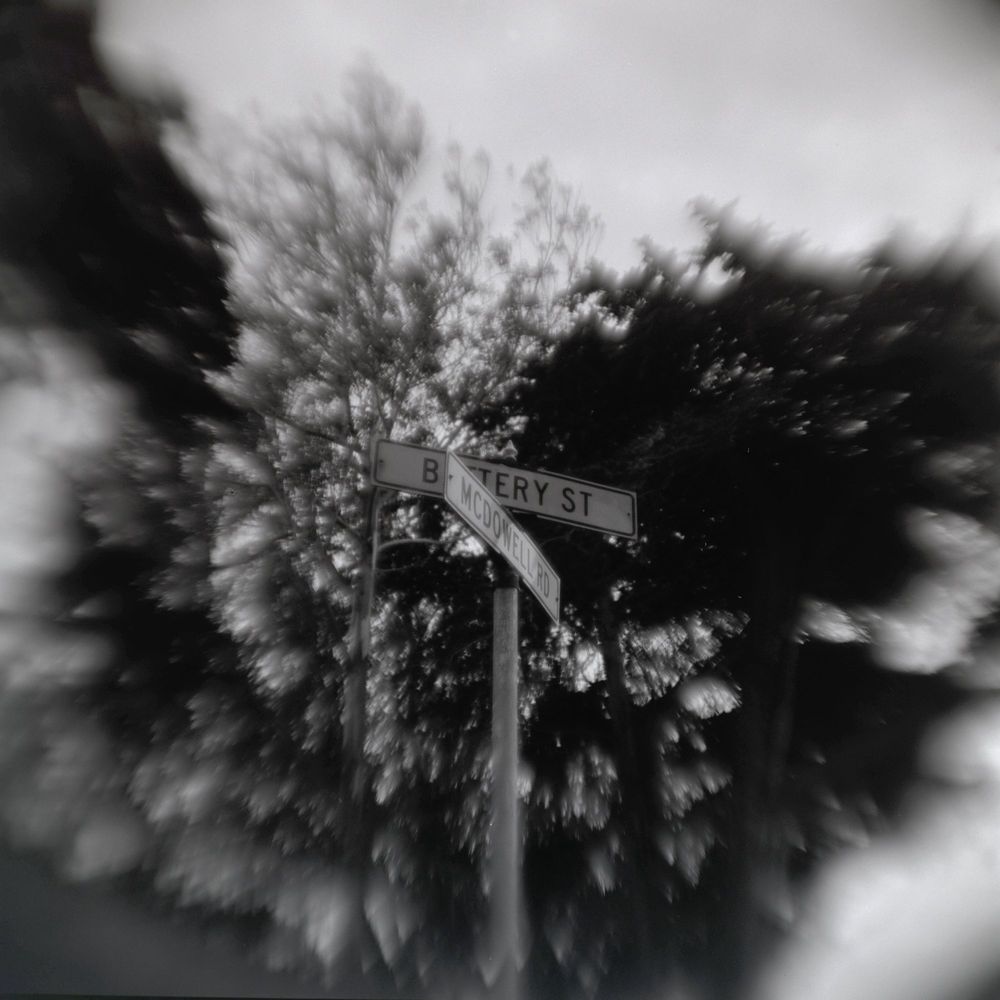
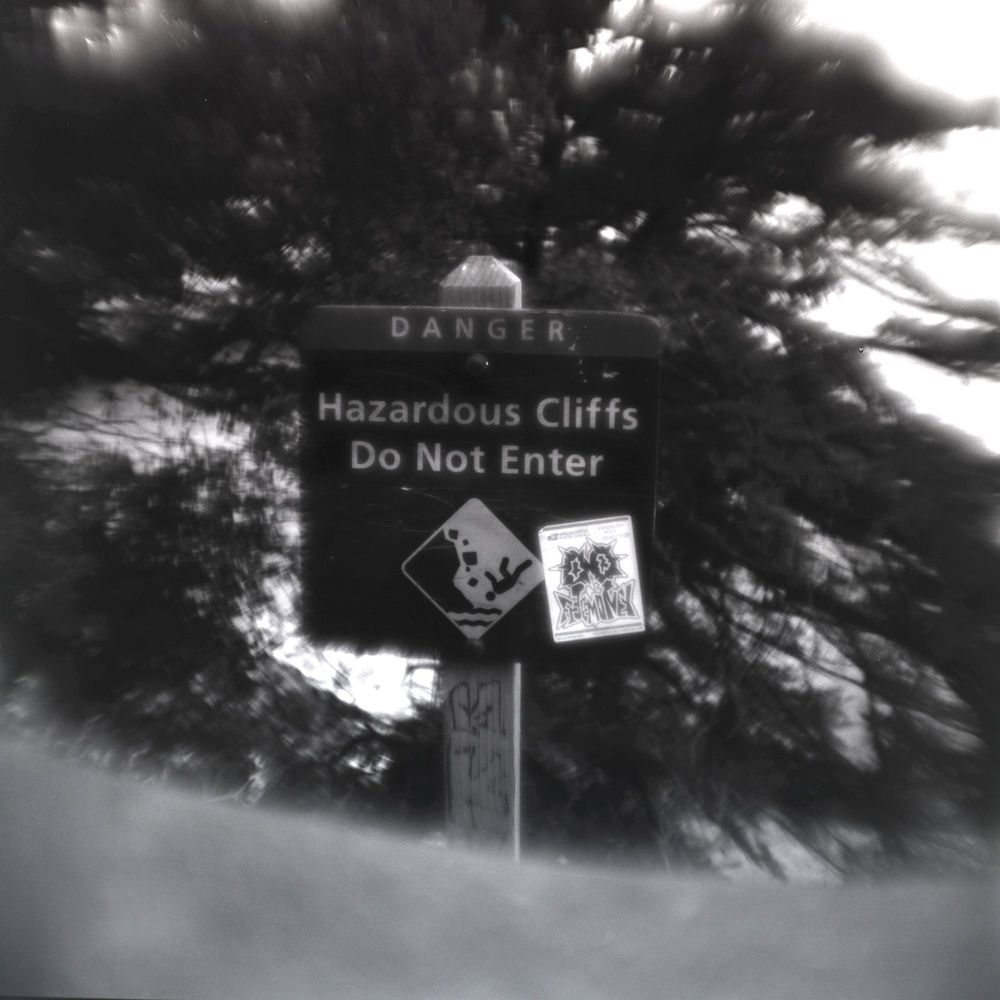
The photos show something I hadn't expected and the math doesn't predict: three zones instead of two. The center is sharp, then there's a ring where the background smears into arcs around the center (swirl, finally), and then partway out the smear flips back to radial and the corners tie-dye. At 90mm the frame reaches well into those corners, so a lot of pictures still feel tie-dye overall even though there is a swirl ring.
The first test lens of this design also focused about 14mm past where the math said it would, so I had to shift the whole optical core toward the film to reach infinity. That dragged the stop slot into the mount ring and forced the stop a few mm deeper than planned. I learned that getting infinity right really requires measuring a test print, adjusting the design formula, and reprinting with the corrected flange distance.
Color should be better than the 13f with three achromats, but I didn't care enough to test it carefully.
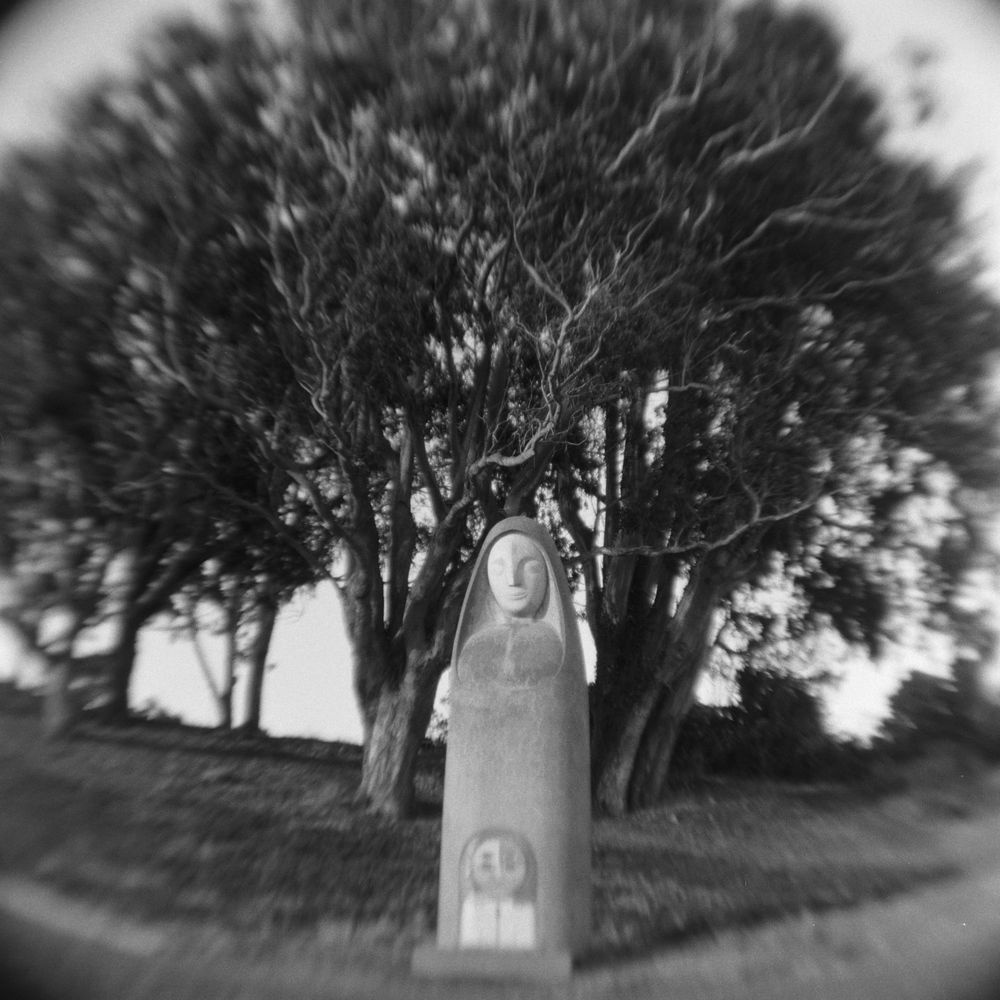
The ZenzaNOT Briotar 98mm f/3.2 (design version 16d)
In this one, I wanted something like the last one but with the swirl ring pushed outward. Same plan (negative achromat, two positive achromats, stop between the positives). The front element is common with the previous design, and the middle element is the achromat from the 13f. Only the rear element is new.
I tried two things at once to push the flip between swirl ring and tie-dye corners outward in the frame: a longer focal length, and stronger astigmatism (the stop sits much deeper behind the middle element, and the spacings are wider). The target was to get the ring out to the edges of the frame, leaving a wide sharp center, a swirling band, and only the four corners radial.
The cost would be a physically longer lens (95mm front to back, against 72mm for the 15a) and heavier predicted corner darkening, which I accepted because the earlier lenses hadn't shown the vignette the math predicted, and I kinda like some vignette.
The test print lens again focused long, this time by about 17mm. The core ended up shifted 26mm, more than that, because anything in between would have put the stop slot inside the mount ring.
Evaluation
The ring moved outward, but not all the way. Wide open and focused close, the swirl band reaches about three quarters of the way from the center to the edge of the frame, and the corners past it are still radial.
Two things surprised me. First, stopping down to f4 or 5.6 pulled the swirl ring inward instead of cleaning it up, leaving more of the frame as tie-dye. Second, the ring only really shows up when focused close; focused on a subject at normal distance, you just get radial smear from mid-frame outward.
On the other hand, the vignette the revised math predicted did show up this time.
Center sharpness looks a bit softer than the 15a, though I haven't measured it. The longer focal length and the deeper astigmatism would both explain it.
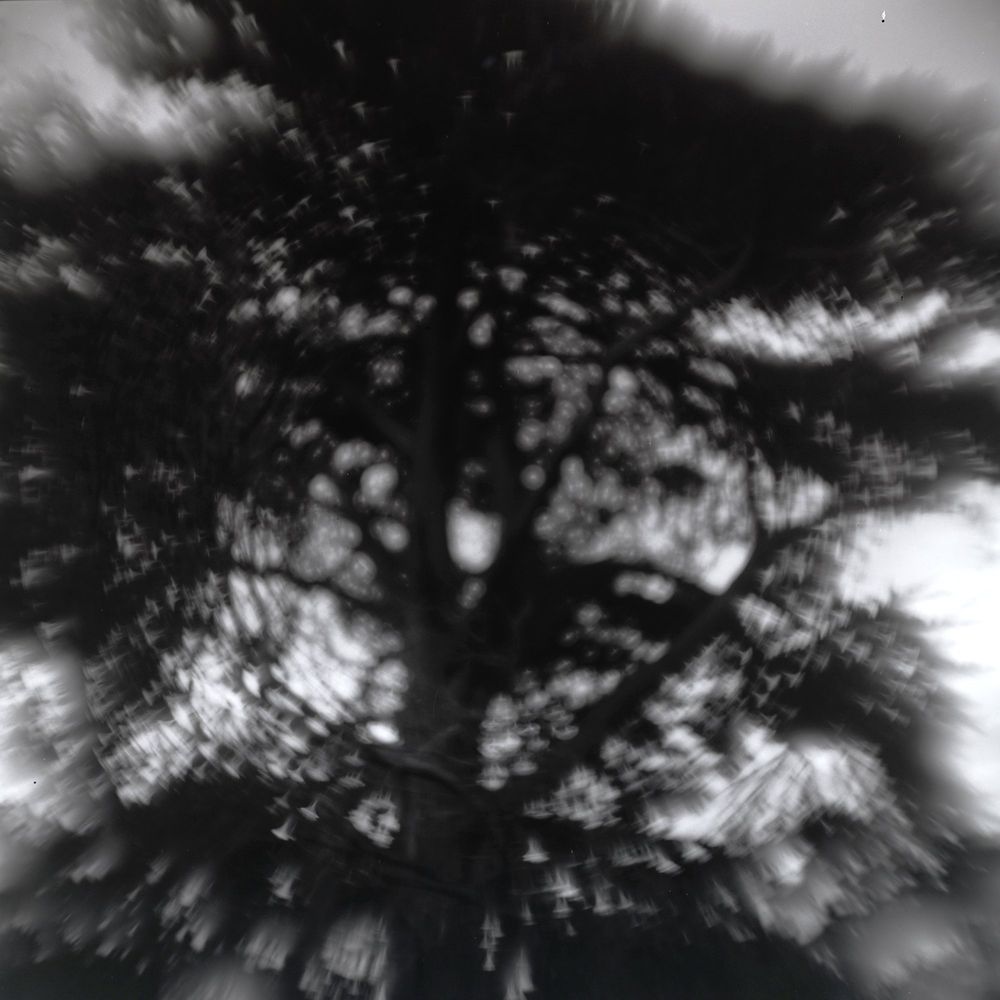
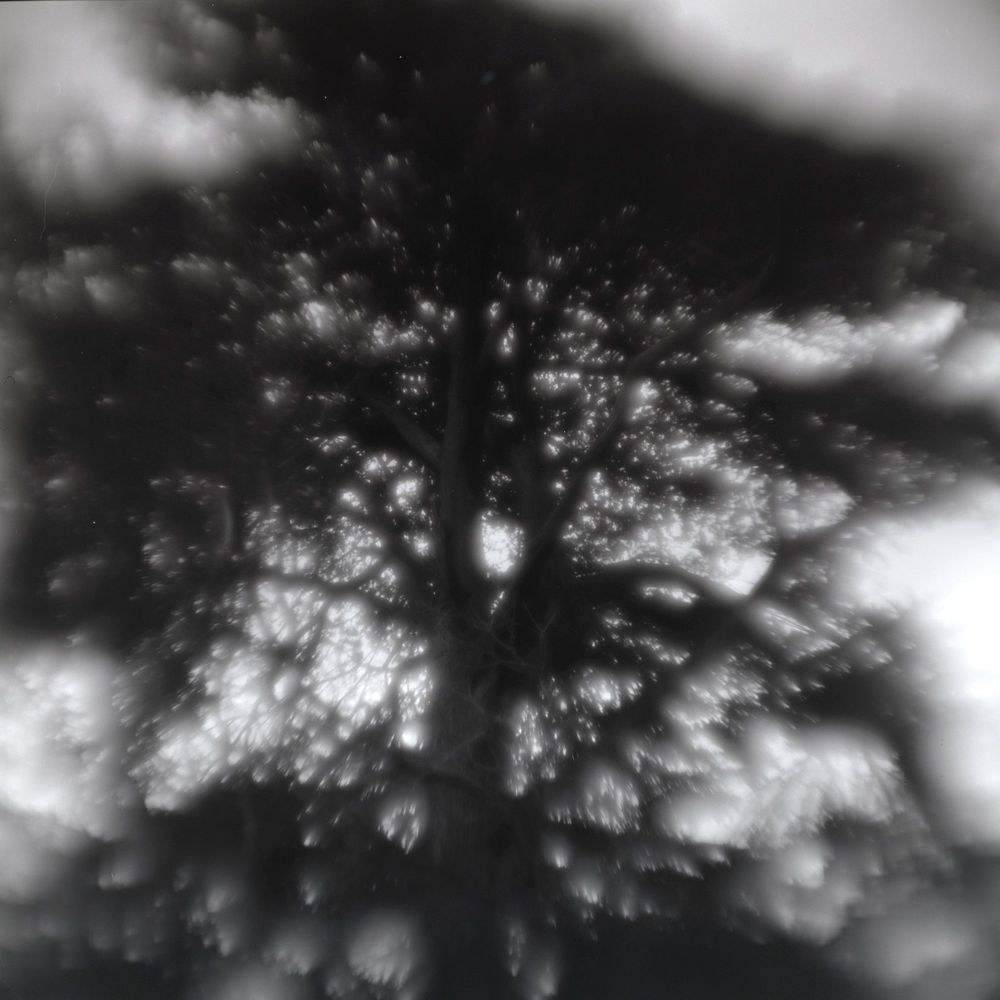
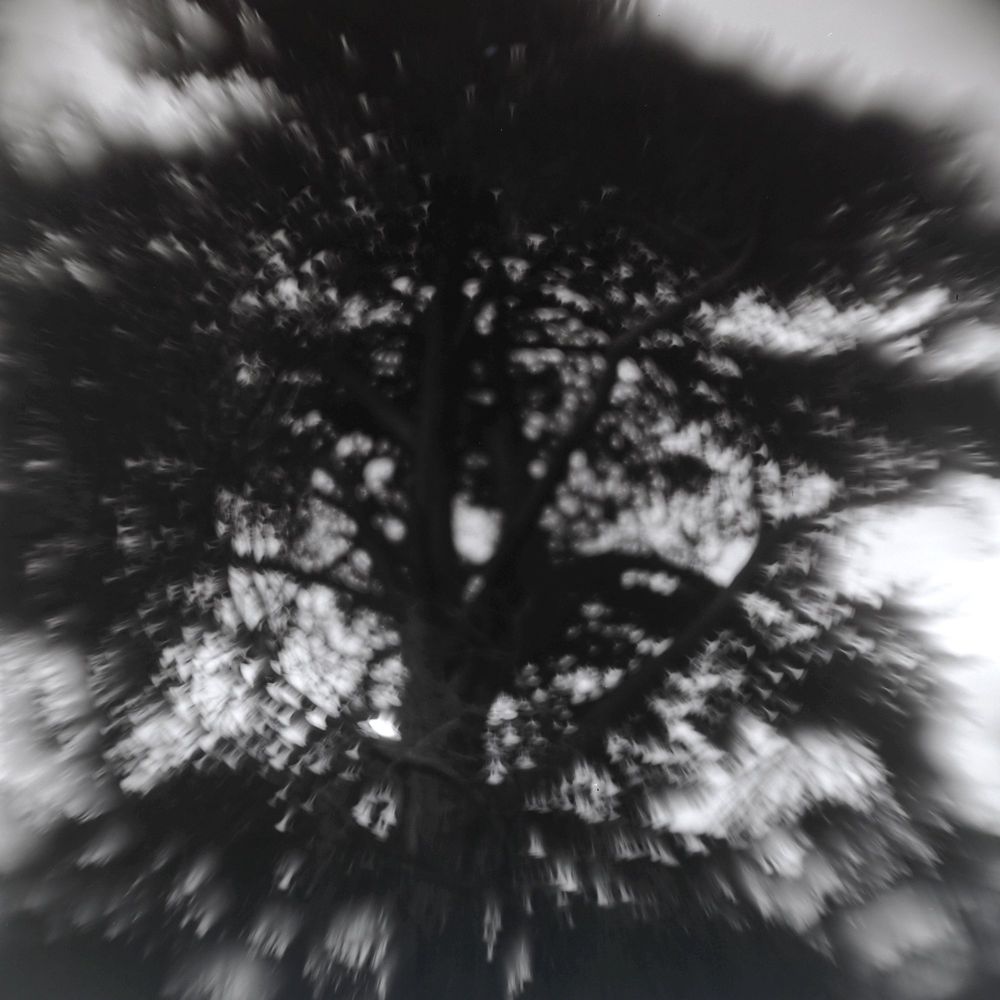
If I were going to keep going, the next step would be to try reducing the edge astigmatism rather than outrunning it.
But to make any real progress, I really just need to embrace the last 100 years of optical design, build a laser-based lens element curvature measuring apparatus, and do some ray tracing.